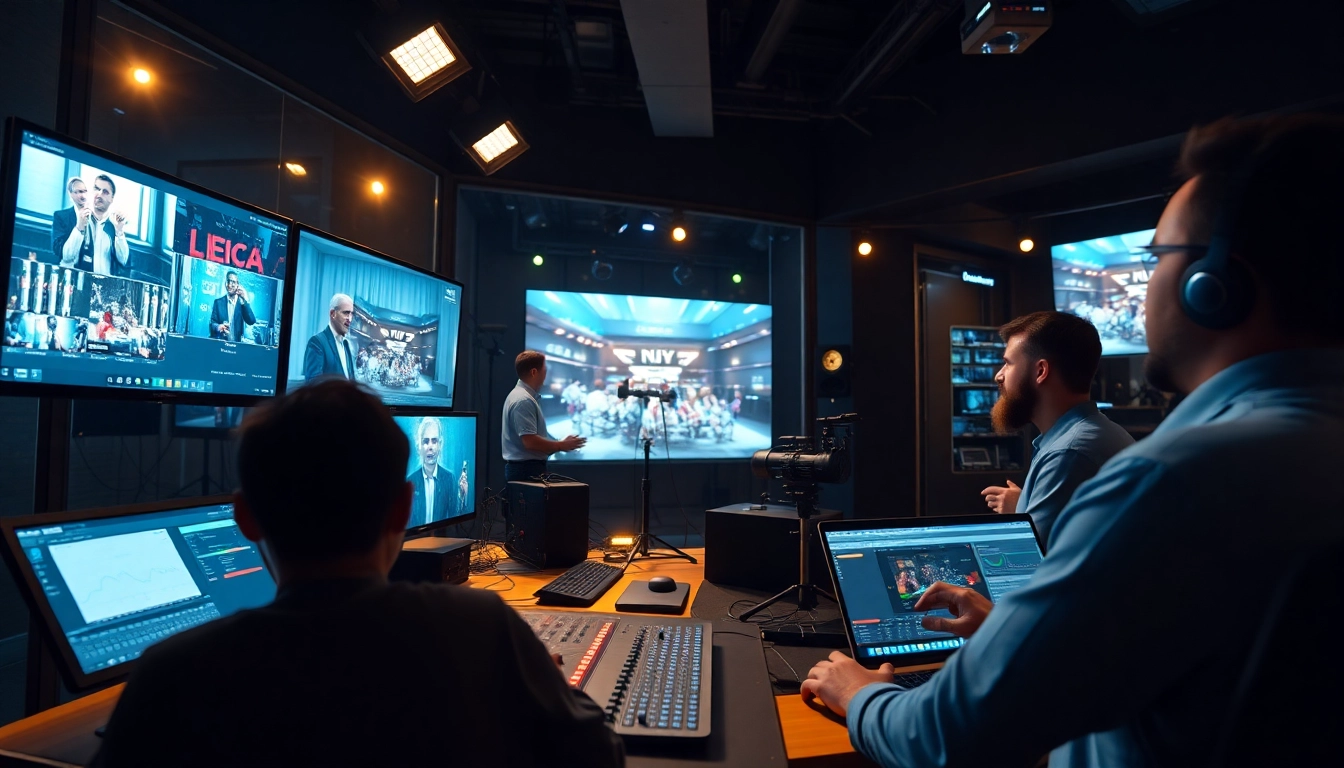
Going live can feel like balancing on a wire—one wrong move and the whole event can come crashing down. Imagine your camera freezing, your audio cutting out, or your stream buffering in front of hundreds of potential clients or investors. It’s not just a tech fail—it’s a branding disaster. But here’s the good news: most live broadcast issues are entirely preventable. In this post, you’ll discover 7 pro live broadcast troubleshooting tips designed specifically for solopreneurs, marketers, and founders who can’t afford a repeat performance of ‘technical difficulties’. Ready to take control of your next live broadcast? Let’s dive in.
Avoid Common Live Event Pitfalls
Live broadcasting is a powerful tool, but even a single overlooked detail can derail an otherwise perfect event. Whether you’re hosting a webinar, pitching to investors, or streaming a product launch, knowing the most frequent mistakes can help you avoid them entirely.
Why Common Mistakes Are So Costly
- First impressions count: Technical errors can lower audience trust and credibility.
- Lost conversions: Missed seconds or minutes of a live stream are missed opportunities to convert leads.
- Brand damage: Glitches during live sessions imply unpreparedness—even if your content is top-notch.
Proven Ways to Steer Clear of Live Event Fails
Here are some practical live broadcast troubleshooting tips that can help:
- Never skip a dry run: Always simulate the actual broadcast environment by doing a test run. Invite a colleague or friend to view the test as if they’re an attendee.
- Standardize your formats: Inconsistent file formats or media (for slides, videos, or overlays) can cause display errors. Standardize using MP4 for videos and PDF for slides.
- Avoid last-minute changes: Any last-minute app installation or equipment change multiplies the risk of technical issues. Lock your setup at least a day in advance.
- Close unnecessary programs: Tools like Slack or Zoom running in the background can consume bandwidth or send real-time notifications that disrupt your broadcast.
Understanding these early pitfalls is the first step in mastering live broadcast troubleshooting tips. You can’t troubleshoot if you don’t know what to prevent. So recognize and prepare for the common culprits.
Summary
Most live event disasters stem from small, preventable details. Spotting and eliminating these issues before you go live is a game-changer. With every pitfall you avoid, you build trust, maintain a professional image, and outperform your competitors who are still scrambling when things go wrong.
Checklist for Pre-Webinar Tech Setup
Preparation is everything when it comes to successful live streaming. A simple checklist can be your best line of defense against surprises that ruin your moment in the spotlight. Here’s your go-to plan to ensure everything runs like clockwork.
Essential Equipment Checks
- Camera & microphone: Test both hardware and software inputs through your broadcasting tool (e.g., StreamYard, OBS, Zoom).
- Lighting: Consistent, frontal lighting eliminates harsh shadows and enhances visual clarity.
- Audio environment: Use a quiet room. Unplug nearby devices that might cause feedback or noise interference.
Software and Platform Setup
- Platform integration: Double-check that your streaming software is correctly linked to your webinar platform (YouTube Live, Facebook Live, etc.).
- Access permissions: Confirm camera/microphone access in your browser or app.
- Scene setup: If you’re using OBS or similar, preload your scenes, overlays, and transitions—don’t do it live.
Connectivity Checks
- Dedicated internet: Use a wired Ethernet connection instead of Wi-Fi for stability.
- Ping test: Check latency and download/upload speeds. You want at least 5 Mbps upload speed for HD streaming.
- Backup hotspot: Keep a mobile hotspot as a backup in case your main internet fails.
Bonus Troubleshooting Tips
- Disable auto-updates and antivirus scans: These can run in the background and slow down your stream quality or block essential ports.
- Reboot before broadcast: Reboot your system to clear any memory lags or background apps affecting performance.
Repeat this checklist prior to every event. It’s one of the simplest yet most powerful live broadcast troubleshooting tips you can follow.
Summary
Think of pre-webinar setup as your live show rehearsal. By following a strategic checklist, you prevent 90% of common technical headaches. Preparation isn’t just professional—it’s a necessity when your reputation and audience engagement are on the line.

Real-Time Fixes for Audio & Video Issues
Even with the best prep, real-time issues can still happen—mic drops, frozen screens, awkward audio delays. The good news? With the right tools and reflexes, you can troubleshoot these like a pro (without freaking out).
Understanding Real-Time Disorder
Live broadcast issues often manifest unexpectedly, even when they’re minor behind the scenes. Here are some examples:
- Lagging audio: Often caused by resource overload or bandwidth drop.
- Echo feedback: Typically from duplicate microphone inputs or open speaker loops.
- Frozen video: May stem from high CPU usage or a streaming software crash.
Quick Fixes for Audio Issues
- Use a backup mic: Keep a USB or lapel mic as a backup. If your main mic fails, switch immediately through your control panel or device settings.
- Mute and isolate: If multiple audio sources are active, mute everything and reintroduce your correct input one at a time.
- Eliminate feedback: Wear headphones and ensure your audience mics or speaker mics aren’t interfering.
What to Do If Your Video Freezes
- Stop camera feed and re-enable: In most streaming apps, turning the camera feed off and on resolves simple freezing.
- Lower camera resolution: Drop from 1080p to 720p or even 480p temporarily to reduce load.
- Switch inputs: If you’re using a virtual camera like ManyCam or OBS, switch to the default webcam, then back to reinitialize the feed.
Keep Communication Open
Let your audience know what’s going on—even a 15-second transparent explanation builds trust. Use chat moderators if you can’t speak in the moment.
Summary
During a broadcast, how you respond matters more than whether the problem occurred. These instant response live broadcast troubleshooting tips allow you to stay calm, look professional, and keep your audience engaged despite the hiccups.
Optimizing Bandwidth and Stream Quality
Your broadcast is only as good as the pipeline carrying it to your audience. If your stream is pixelated, buffering, or audio drops in and out, poor bandwidth is almost always the culprit. But there are ways you can both fix and future-proof stream quality.
Evaluate Your Internet Connection
- Upload speed matters most: Streaming uploads data to the internet. A minimum of 5 Mbps upload speed is required for 1080p HD video. Use Speedtest.net to check.
- Ping and consistency: High ping rates (>100ms) create lags. Look for stable, consistent speeds without major fluctuation over 1 minute.
Bandwidth Optimization Tips
- Restrict background usage: Close all apps that might be consuming bandwidth—Dropbox sync, email apps, media players.
- Hardwire your connection: Ethernet reduces latency and signal interruption compared to Wi-Fi.
- Control household traffic: Ask others sharing your network to pause their downloads or streaming during your live event.
Stream Settings That Impact Quality
- Bitrate: Set a bitrate aligned to your upload bandwidth. Typical range is 3000–4500 kbps for 720p and 4500–6000 kbps for 1080p.
- Resolution and frame rate: If your internet fluctuates, lower resolution to 720p and reduce FPS from 60 to 30.
- Encoder settings: Use software encoding (x264) for flexibility or hardware encoding (NVENC) for speed and offloading CPU.
Use Simulcasting Wisely
Streaming to multiple platforms? Tools like Restream or StreamYard are great but can double your bandwidth needs. Test and scale accordingly.
Summary
Stream quality isn’t magic—it’s math. Understanding how to balance resolution, bitrate, and internet capacity is one of the most valuable live broadcast troubleshooting tips you’ll ever implement. Your audience’s attention is worth every effort you make to keep the stream smooth and sharp.
Post-Event Troubleshooting and Recovery
The live event might be over, but the technical work isn’t. Issues you didn’t notice during broadcast—like corrupted recordings, low-quality replays, or sync lags—can still emerge afterward. Smart post-event troubleshooting ensures your hard work continues to pay off.
Review Your Livestream Archive
- Watch the full recording: Identify any glitches, audio dropouts, or AV sync issues from start to finish.
- Look for audience comments: Chat replays are a goldmine for spotting tech issues in real time.
Fix and Republish if Needed
- Edit your recording: Use tools like Adobe Premiere or OBS to trim, fix out-of-sync audio, or insert missing segments.
- Overlay post-edits: If a video cut out, consider adding text overlays or explanations before uploading the replay.
Prevent Future Recurrence
- System reports: Review analytics or crash reports from your streaming platform.
- Save hardware logs: Tools like Logitech Capture or Blackmagic software often log device issues—review them post-event.
- Upgrade where needed: Did CPU spike every time you shared screen? Time for RAM upgrade or CPU cooling.
Follow Up with Your Audience
- Send a replay link: Include time-stamped highlights if the event was long.
- Own any hiccups: Transparency builds credibility. Mention if there were minor technical issues and how you fixed them.
Post-event cleanup is one of the most overlooked live broadcast troubleshooting tips, but it has huge brand trust benefits.
Summary
Finishing the live broadcast isn’t the end of your job—it’s the beginning of ensuring long-term content value. By reviewing recordings, recovering assets, and resolving red flags, you strengthen performance for future success—and reinforce professionalism across the board.
Conclusion
Live broadcasting is no longer optional—it’s a mission-critical channel for communicating value, building trust, and converting audiences. But tech hiccups can cost you more than time. They can cost you trust. The good news? With the right live broadcast troubleshooting tips, you can take complete control of your technical delivery.
From avoiding common pitfalls to meticulous pre-webinar prep, swift real-time fixes, bandwidth optimization, and post-event recovery, each step you take toward preparedness makes your broadcast more stable—and your brand more respected. Whether you’re a solo founder broadcasting a pitch or a marketing agency live-streaming client content, these 7 pro strategies position you to lead with confidence, clarity, and results.
So don’t just go live—go prepared, go strategically, and go knowing you’ve mastered the tech behind the talk. Because how you handle the moment can define the impact of your message.
Deliver flawless webinars—fix broadcast issues before they ruin your event!
Learn More
– As an Amazon Associate I earn from qualifying purchases.
Explore more on this topic